
Table of contents

Development for Android from scratch | Management
5 August 2020
Reading time: 16 minutes
How to start developing an Android app?
Creating a mobile application for Android OS can be divided into several main stages:
- Description of logic in Java files, in other words, in these files you describe how your application should work, what it should do.
- Developing layouts, i.e. appearance of your application, this is described in XML files.
- Assembling your mobile application, in other words compilation, at this stage your program is packaged into an .apk file, it is we who run it on our Android devices to install the application, the second option is to download it to Google Play.
All files and utilities used to develop an Android mobile application are bundled in a so-called Integrated Development Environment (IDE), this program is used not only to open and edit your application code, but also to run after compilation.
Earlier, the standard Eclipse IDE was used to develop applications for Android, but now it has been replaced by Android Studio, a more functional program from Google. It is clear, of course, that during the development process, there will be many more processes going on behind the scenes.
For example, for advanced users it will be interesting to know what the Dalvik virtual machine is and what is its role in the development of a mobile application, for this, at the end of this article we will place links to useful articles and resources that every self-respecting developer should read applications on Android. Of course, the first in this list is documentation from the official Google site .
But since this article is not about that, let's still analyze the following questions in this article:
- How to download and install Android Studio.
- How to run and test mobile apps on emulators or Android devices.
- Let's learn how to create the simplest program for Android, which, as is customary in the development world, will display the greeting "Hello World" on the screen of the android gadget.
- Also at the end of this article there will be useful recommendations for novice developers from Crocoapps.
Installing and configuring Android Studio
To understand what the Android Studio platform is capable of, of course, you will have to not only read the documentation, but also start writing code, but first of all you will need to install and configure the Android development environment, which is what we will do next.
For beginner Android app developers, it's important to take your time and follow each step carefully. If you do everything correctly, there may be some minor problems in setting up the development environment, which may be related to your PC configuration or product version. In order to find answers on how to solve a particular error, you need to use search engines, and you can also look for a solution to your problem on the resource StackOverflow, it's popular with developers and will most likely have the answer to your query.
Don't let any mistakes that pop up during the learning process prevent you from learning how to develop mobile applications for Android.
There are times when even professional android developers encounter certain difficulties in the process of setting up a working environment. It is at such moments that knowing how to work with the command line comes in handy, if you want to study this tool in more detail, check out the good introductory guide, the link to which is located below.
Along with training in syntax, it is also important for you to learn the thinking of a successful developer, in other words, when difficulties arise, you should not give up, but you need to look for a solution to the difficulty that has arisen, this approach will best allow you to train your successful thinking.
So, to download the latest version of Android Studio, you need to go to developer.android.com/studio/index.html and find the button to start downloading the latest version for your chosen platform.
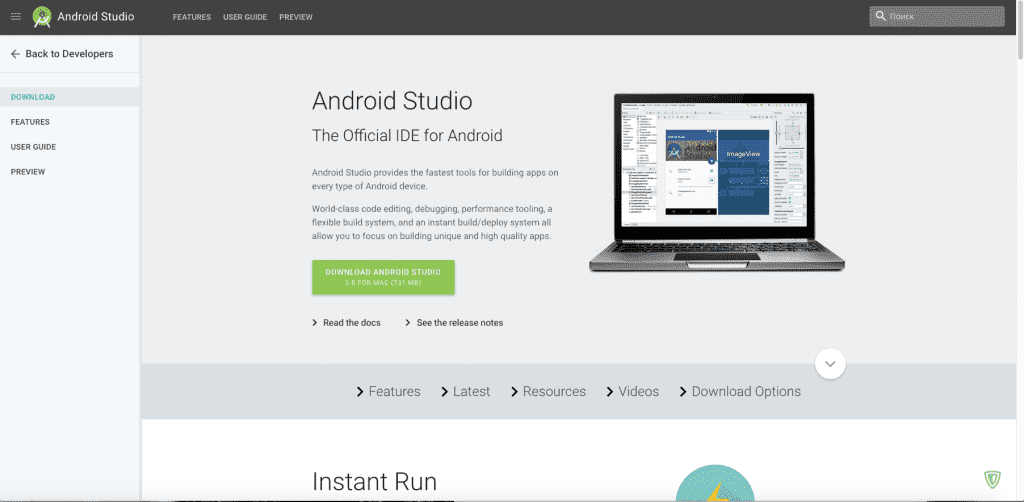
By clicking on the download icon, you will be prompted to read the terms and conditions for using the program.
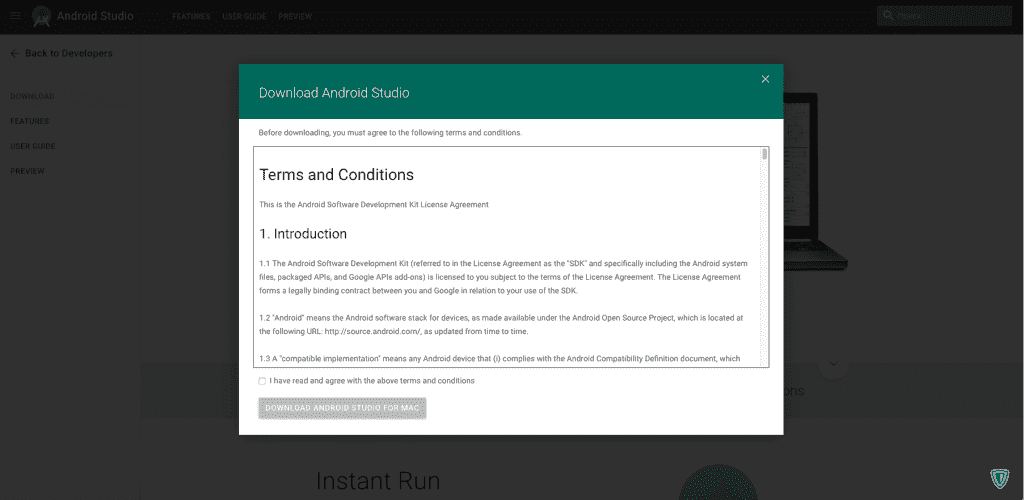
After carefully and carefully reviewing the terms and conditions, if you agree, you need to accept them, after which the download of the Android Studio development environment installation file will begin. Most likely, the download will last a few minutes, after which you can install the development environment just like any other program. The start page also contains installation instructions for other operating systems.
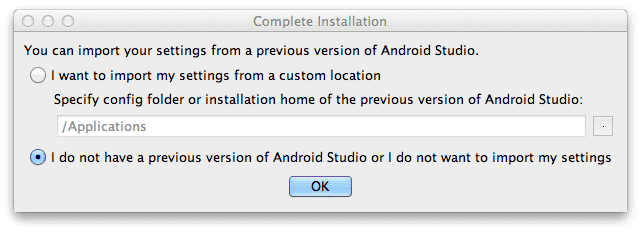
After you have installed Android-Studio, launch it, at first, the program will ask you if you want to import your settings, but since you are all starting from scratch, you need to select the second item and click continue, after which you should see a beautiful loading screen in the style of Material Design.
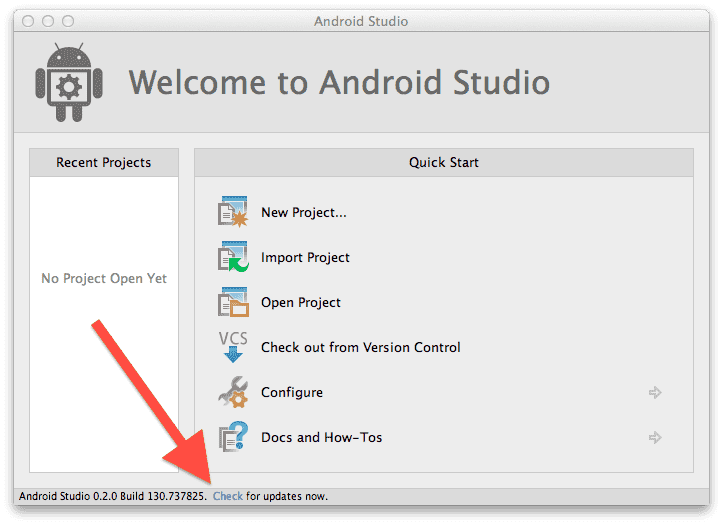
After the download is complete, you will be shown a welcome screen with the message Welcome to Android Studio.
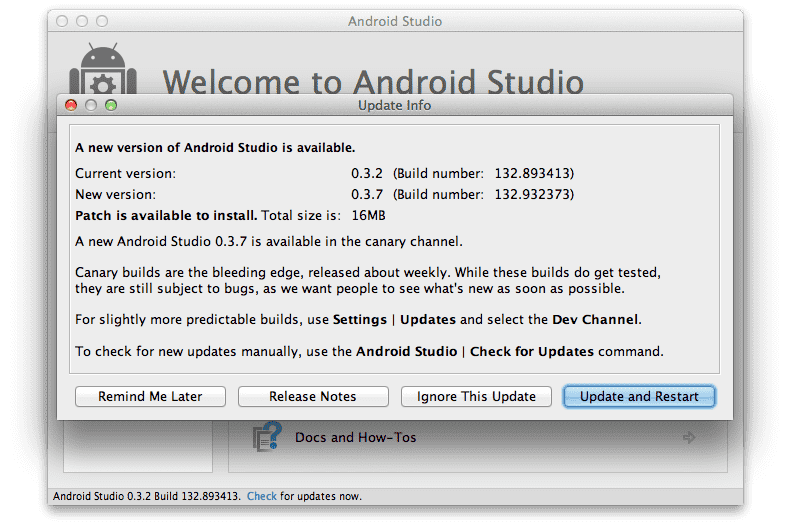
There are times when you have downloaded and installed what seems to be the latest version of Android Studio, but in the end you may not have the latest version, in order to avoid problems with updates in the future, you need to click the "Check for updates now" button and when the need to follow all the instructions offered to you in order to obtain the latest version of the program. It happens that Android Studio can automatically inform you about the availability of updates using a screen like this.
In this case, you need to select Update and Restart.
That's it, we will finish the question regarding installation and configuration of the development environment, now let's create our first Android project.
How to create your first Android project
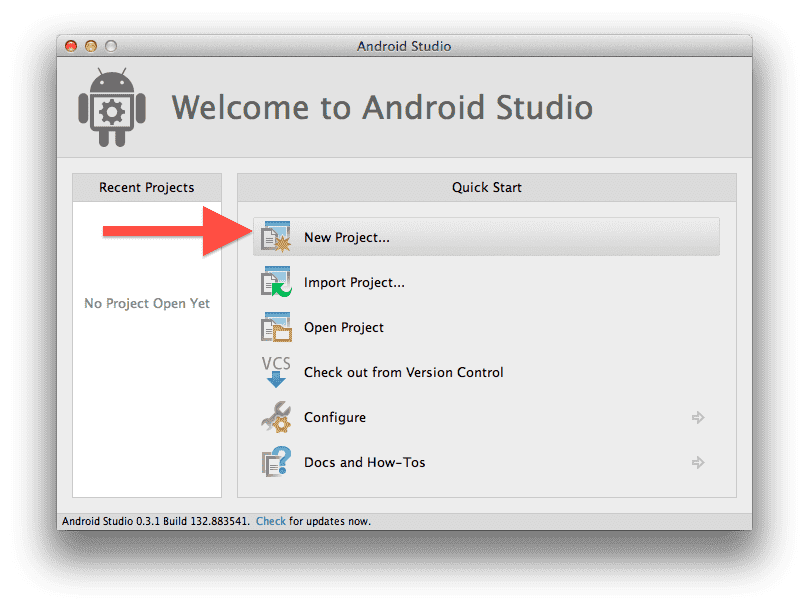
So, the next step, as you already understood, will be the creation of our first project, as usual we will start with the simplest, without violating the traditions, we will write the first android application "Hello World", with minor edits, as a result of which our program will use your first name to greet you. At the end, you will have the opportunity to install the program on your device and show it to your friends and acquaintances. I would like to say that this development environment has an auxiliary tool that helps you create a project step by step, for this you need to click on the “New Project” start screen, after which you will see a similar window.
Next, you will need to fill in the fields in this box. The "example" in the package name can be replaced with something else to remove the warning that will appear at the bottom of your screen. You can also change the location of your project to any location on your computer that is convenient for you.
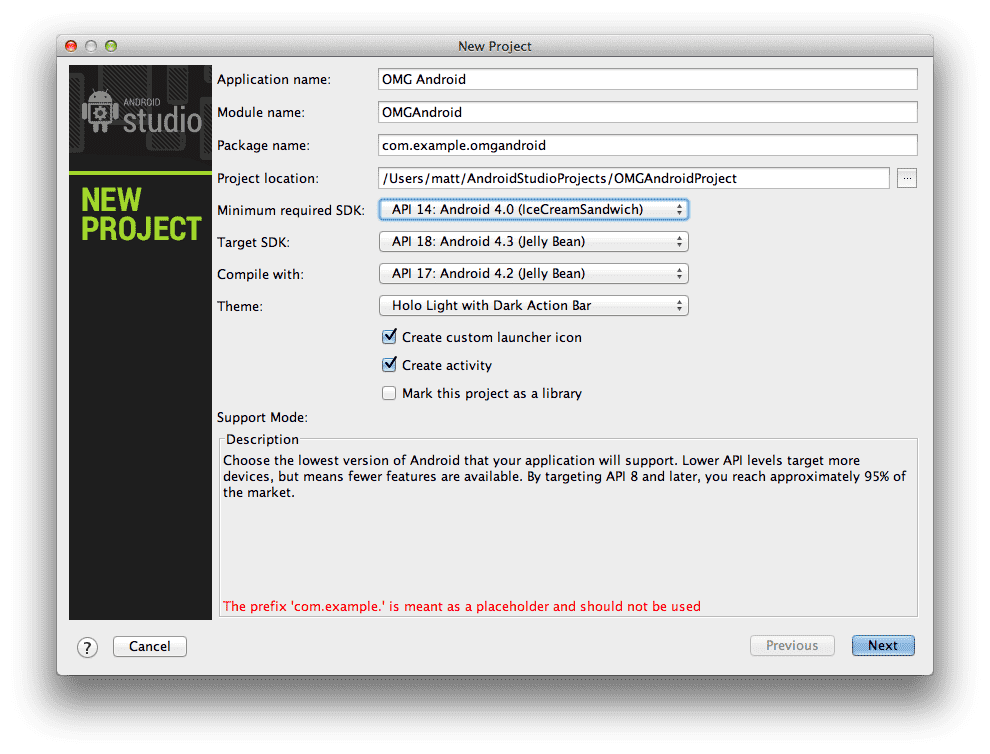
It's worth saying that for the SDK versions (drop-down) you need to pay attention to the section at the bottom of the dialog box called "Description", it tells what each setting is for.
For the first application, we will be fine with installing the minimum required SDK, as shown in the screenshot, this installation will be fine for installing the minimum version of the Android OS that will allow you to run your mobile application. Choosing this value when creating your projects will allow you to balance between the capabilities of the SDK and the devices on which your mobile application will run.
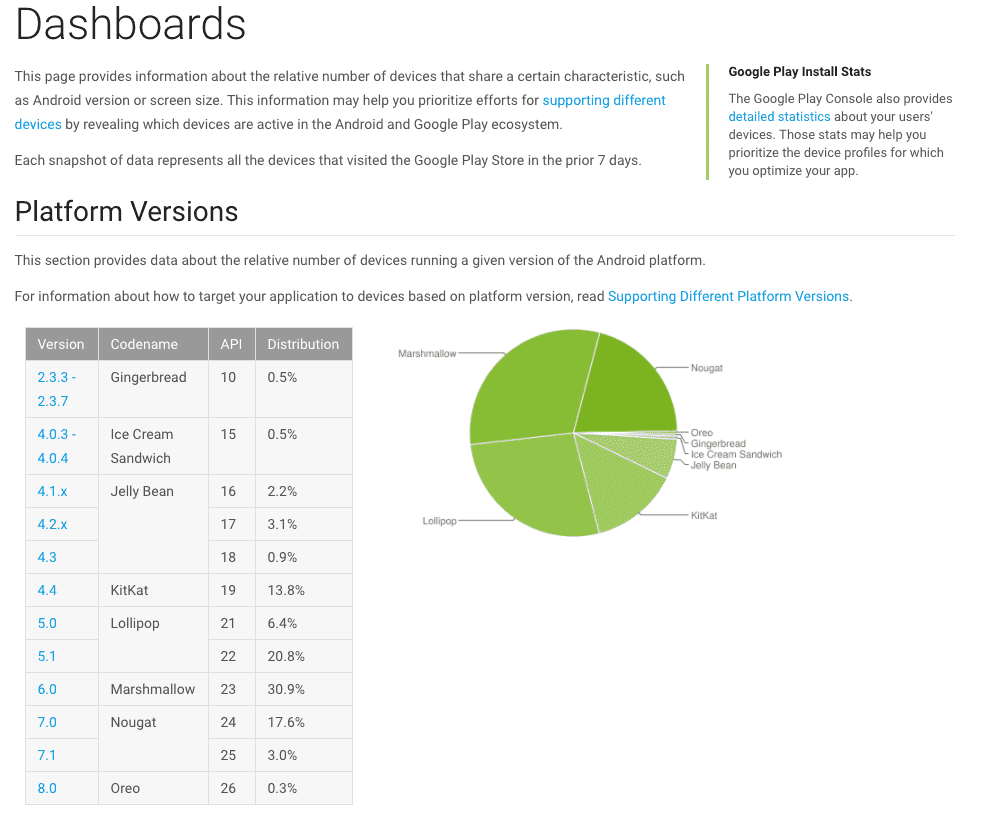
For your first program, we recommend that you choose API version 14, this version is Android 4 Ice Cream Sandwich. Each of your mobile applications may have different requirements, and depending on the specific situation, you will have the opportunity to choose what you need. For more information about their API versions and how to use them, you need to go to the Android developer site https://developer.android.com/about/dashboards/index.html.
After choosing a version, you will see a screen allowing you to select a start template, thanks to it, you can already from the start create a program that interacts with the Google Maps API, which will show a Google map. In our test application, you need to select the Empty Activity and click Next.

Now you have reached the last step of creating an android application, before clicking "Finish", please note that at this stage, for the first time, you will encounter a mention of the main architectural components of an android mobile application.
Activity Name will not be the last time we will mention it, usually in the context of Android, we mean the “screen” of your program. This element is very flexible, it is worth saying that in the process of creating the Android Studio MainActivity class, it is inherited from the Activity class located in the Android SDK. If you are familiar with OOP, you should understand this concept, but for beginners, this means that the MainActivity in your application will be a custom version of the Activity.
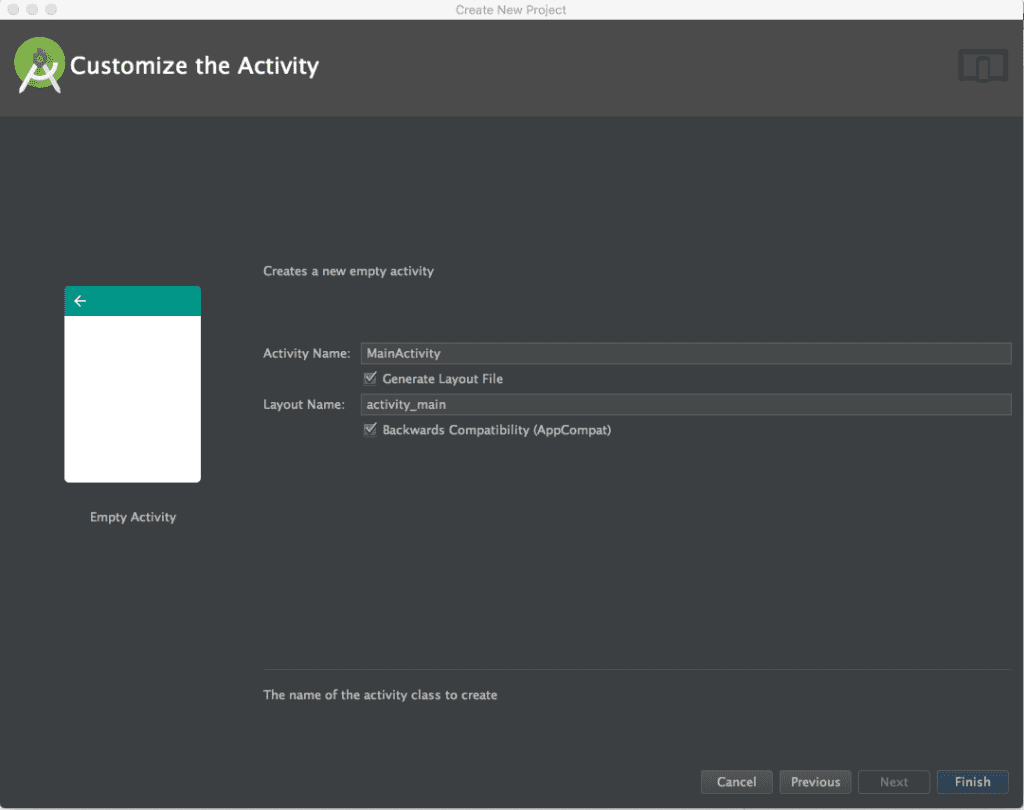 The
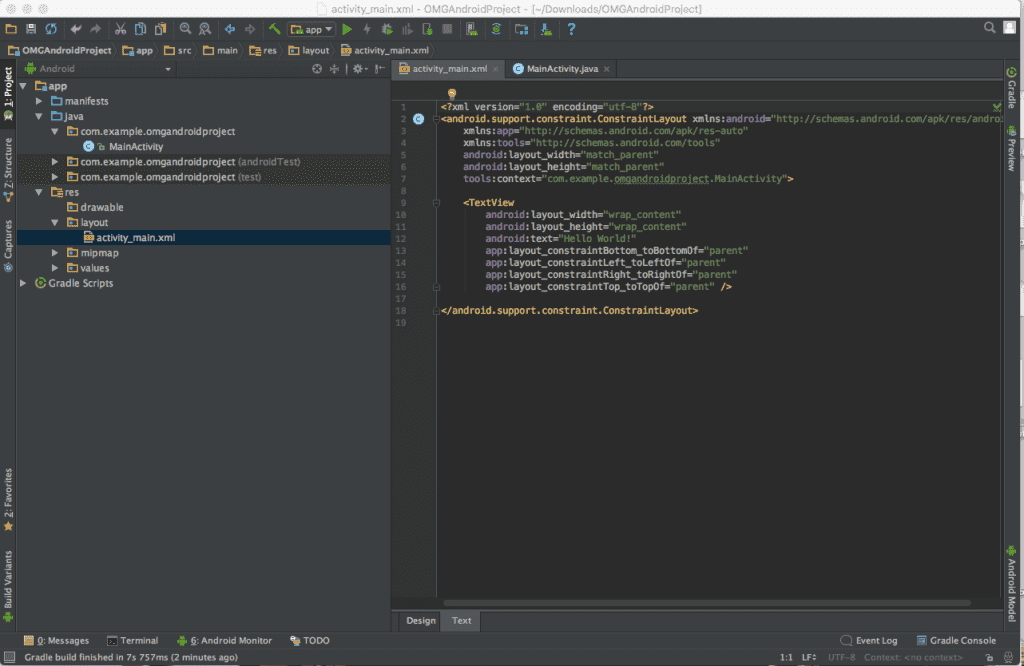
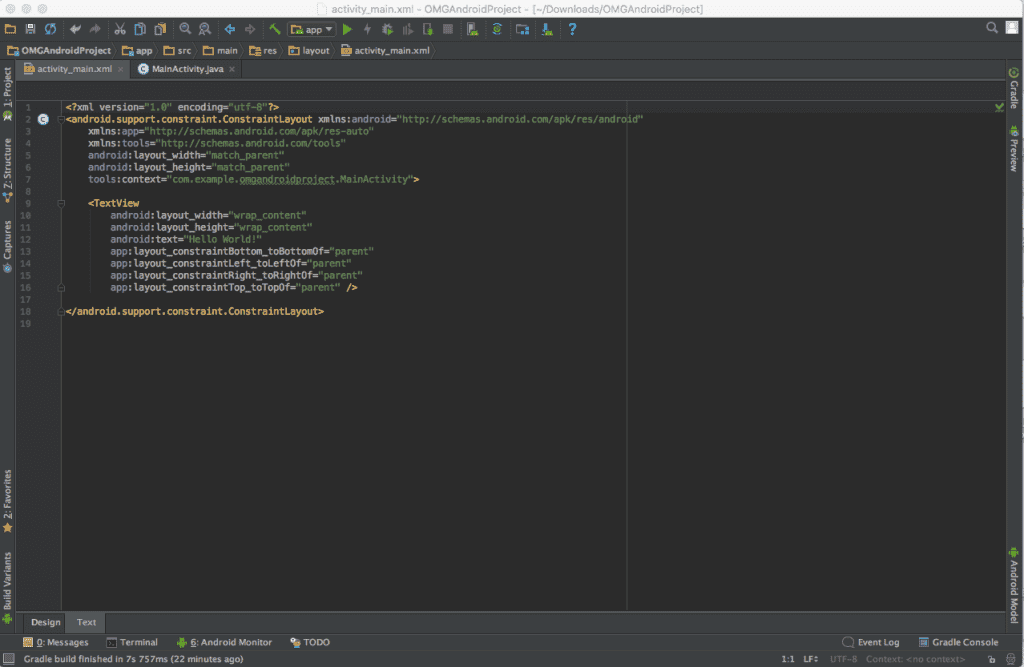
The Layout Name is what the user will see, the layout so to speak, which is defined in a special Android XML file. Soon you will understand and learn how to read and edit such files.
Now you need to click Finish and wait a bit for your project to be created and loaded. After some time, the Android Studio development environment will finish building your mobile application. Of course, our project is not yet fully operational and full of functionality, but it already has all the necessary components in order to run on a mobile Android device or its emulator.
After the project has loaded, you can view the layout file in XML format, but before we start programming, let's think about how we can launch our mobile application. Let's now say "Hello world!" to everyone.
How to run an Android mobile app on an emulator
Now let's talk about the emulator. Android Studio includes software that can emulate any Android device, which is necessary for running, testing and debugging both Android applications and websites.
This is possible thanks to the Android Virtual Device (AVD) Manager, which allows you to configure multiple emulators, but also select screen sizes or platform versions for each running emulator. This functionality allows developers not to buy several mobile devices for testing applications.
So, to run your project, you need to find the Run button at the top, it looks like a green arrow pointing to the right, after clicking you will need to wait a bit until the emulator starts, after running it, you will see something like this.

Congratulations! You have created your first Android app. Let's now figure out what and how it worked here. To do this, you need to understand what works and how, this will allow you to edit the code and add interesting functionality.
Look to the left side of your screen, you will see your project explorer showing files and folders, if you don't have it you may need to click on the little tab on the edge (see below).
Familiarize yourself with the project explorer for a few minutes, to see the contents of the files in the main window, you need to double-click on the file you are interested in.
Android app project team and structure
In every good team, there are people who need to fulfill their roles. If you want to get the job done as efficiently as possible, then you need a well-formed team.
In the Android project, there are also several key divisions that play a role in the development of a mobile application.
Java
This piece of code is responsible for the logic of your application. The code you write will be placed in the main project folder at src\main\java. To learn the Java language well, we recommend that you read the Java Philosophy by Bruce Eckel.
Resources
Making an Android app isn't enough, it still needs to be stylish and usable, so if your app doesn't have crisp images and icons, and the layout isn't well thought out and doesn't even have fancy animations, your app will never stand out.
During the initialization process, your folder should contain the following subfolders: drawable - this will contain your icons, but by default it will only contain the standard icon of your program.
Layout - this folder will store XML files representing the designs of your application's screens.
Menu - this directory will also contain XML files that list the lists of items that will be displayed in the action bar.
Values is a directory of XML files that will contain colors, sizes, styles, and string constants for your application.
Androidmanifest.xml
This file tells your Android system what hardware and software requirements it has, as well as which icon to use, the name, and what version of the app it currently has. This is a very important file, it also contains information about all the Activities in your mobile app.
Making changes
To make changes to our first Android app, we need to navigate to the res/values/strings.xml file and open it by double-clicking on it. In the open file, you will find two string resources in xml format, which are applied to different addresses, which is very convenient, because you have all the text that is used in your project in one place. In case you need to translate it into another language or you are asked, for example, to remove all unnecessary links, it will be convenient for you to do this, since all the information is in one place.
So now you can easily change our hello_world string that the program gives you on the screen, you can also add more personal changes, for example, you can use your name, as a result you should get something similar to this line : <string name="hello_world">Learn Android with pleasure</string>
Now all you have to do is press the Run button, after which your application will restart and you will already see your modified message on the screen. Learn Android with pleasure.
Well, we congratulate you, you succeeded and you have made your first mobile application for Android. The first step in mobile development was successfully overcome.
Crocoapps company wishes you success in your difficult but very interesting path, if you suddenly need professional mobile application development, you can always contact our specialists.