
Table of contents

Game development on Unreal Engine 4
27 August 2020
Reading time: 14 minutes
For novice developers, Unreal Engine 4 is pretty easy to use. This basic game creation software has a wide range of features. It can be used to "set in motion" from a simple 2D smartphone game to more complex 3D games with the latest realistic graphics or high-budget games for consoles. It was on this engine that games such as Daylight, Hardware: Rivals, Hellblade: Senua’s Sacrifice and many others were created. The second part of the post-apocalyptic shooter S.T.A.L.K.E.R., which is planned to be released in 2021, is also being created using Unreal Engine 4.
Unreal Engine 4 is the latest version of the engine created by Epic Games. Although this set of tools was originally intended primarily for the development of games in the shooter genre, now a wide variety of types of games can be created on this engine.
Installing and configuring the first project
In order to start working with Unreal Engine 4, you need to create an account or log in to the official website of the engine. Once on the start page, find the Get Unreal button. Then download and install the Epic Games Launcher. Here you can find interesting information and current news, learn various development skills, and also find various digital goods related to the creation of games (for example, models or textures).
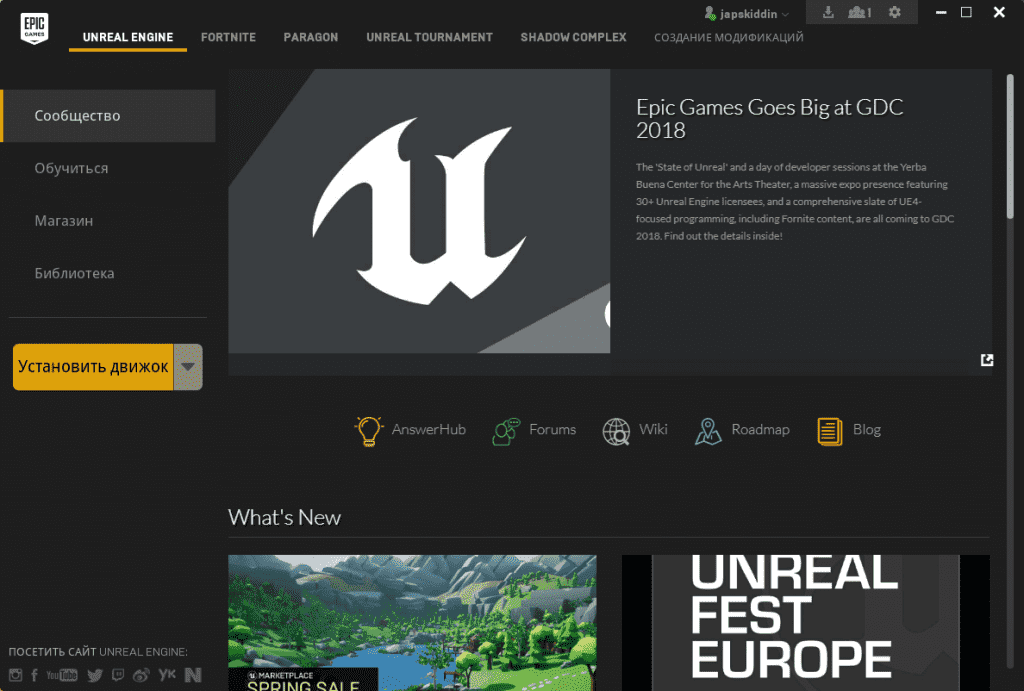
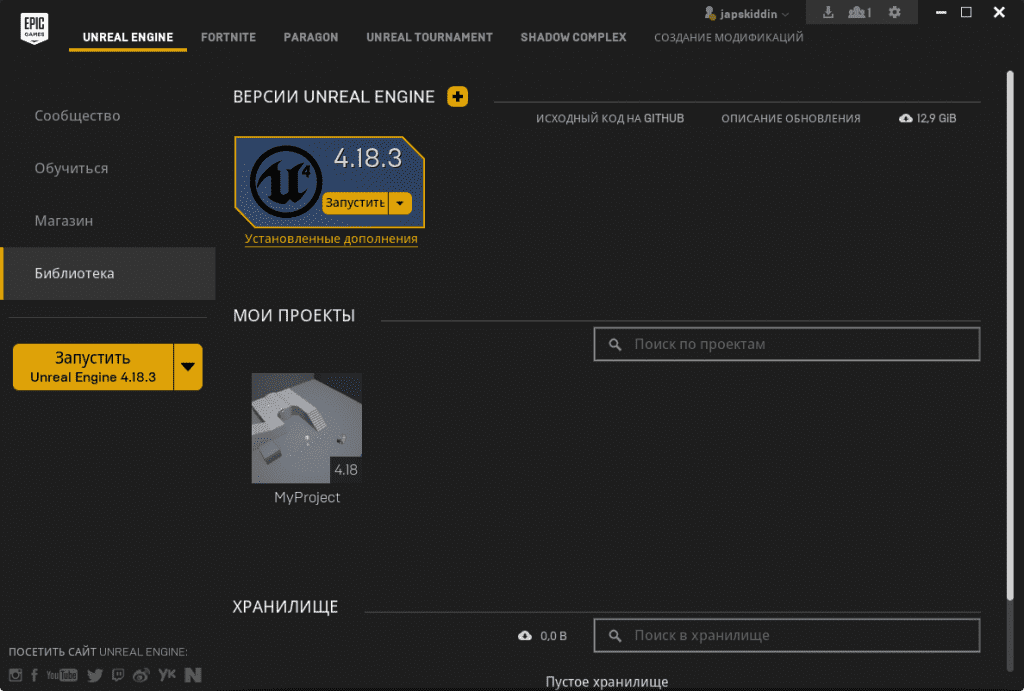
When you install and open the Epic Games Launcher, you will see the following window:

Enter your email address and the password you used for the previous download. Then click Sign In. In the installed program, you will find the Unreal Engine tab. By clicking on "Install engine", you will need to select the installation path.
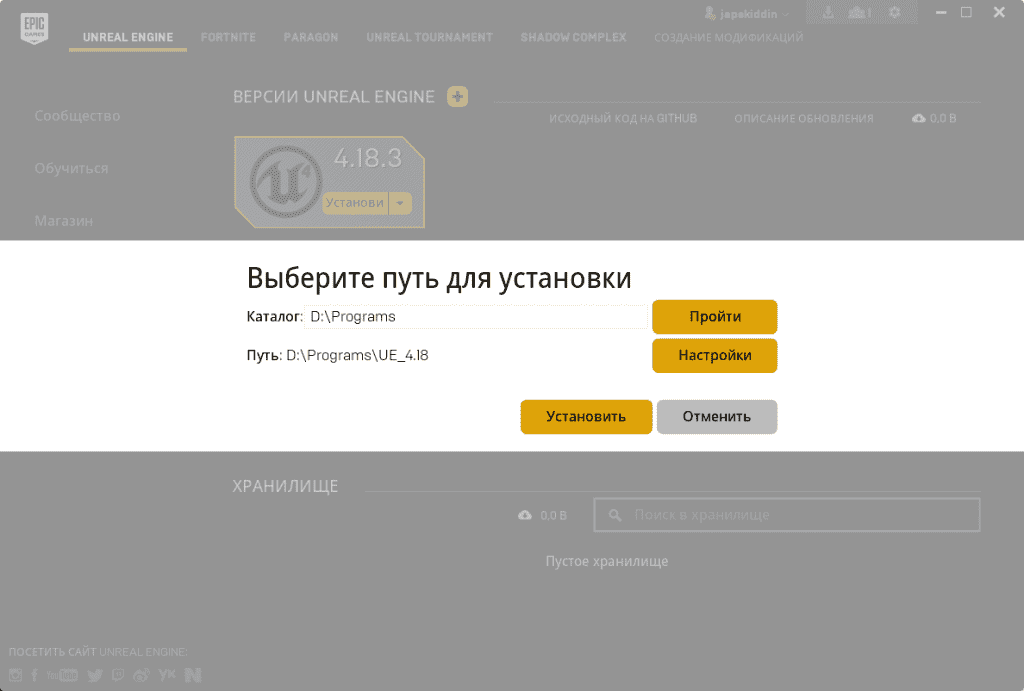
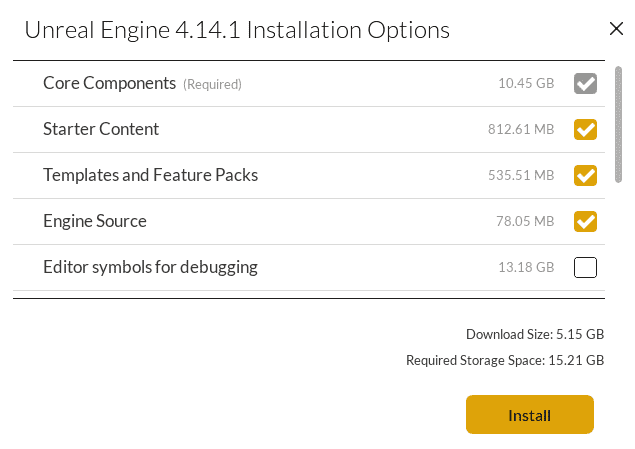
Having selected the folder you are interested in from the catalog, click the "Install" button. Next, you will see a window in which you will need to check the boxes next to the components you are interested in. Three of them will be checked by default: Starter Content, Engine Source and Templates and Feature Packs. Here you can not change anything, as these components will be useful in your work.
Starter Content. This is a list of free assets (models, materials, etc.) that you can freely use in the development of your projects. They can be used as temporary resources or used in an already finished game.
Engine Source: Unreal. This engine is open source. This means that you can freely make changes there. For example, if you need to add additional buttons to the editor.
Templates and Feature Packs. The templates of this component (Templates) offer the main features for the genre of the game that you have chosen. For example, choosing the Side Scroller template will create a project that will have a character, elementary movements, and a camera on a fixed plane.
You will also need to select the target platform from the list: Linux, IOS, Android, HTML5 and others. Note that if you select Android, you will also need to download and install the NIVIDA CodeWorks toolkit. If the game is not created for a specific platform, just uncheck all the boxes.
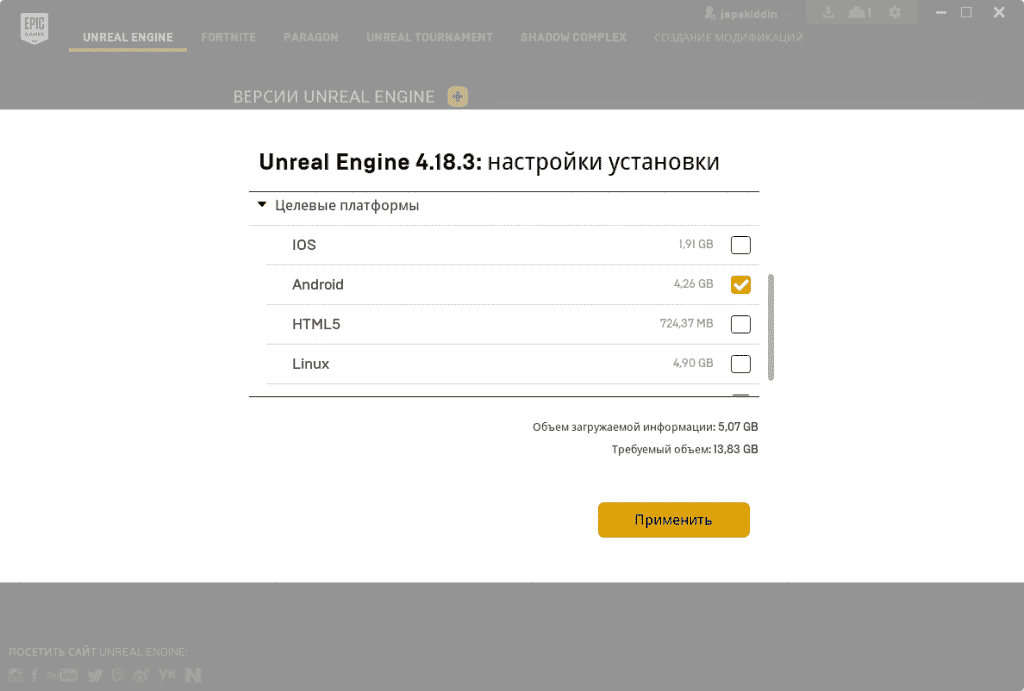
After checking the box, click the Apply button. This will start the Unreal Engine installation process. When it completes, the engine should appear in the Epic Games Launcher library.
Creating the first project
Launch the Unreal editor. Open the new project creation screen by clicking on the New Project.
tab
Below you will see two tabs: Blueprint and C++. These are the types of blanks. C++ is a high-level programming language that is great for experienced programmers. Blueprint is the more popular way to create a game in Unreal Engine 4. It's a visual scripting language that newcomers also use. Note that during the creation of the game, these two blanks can be combined. Each of them provides a certain logic, on the basis of which you will write the project. For our example, we use the Blueprint tab.
Clicking on the tab will display a list of templates. To create a clean project without any specific logic, select the template Blank.
Next, let's get acquainted with the various presets and select the necessary parameters on the three icons:
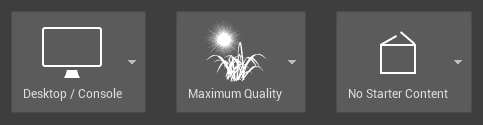
Let's figure out what each of them means:
Target Hardware. If you select Mobile/Tablet, certain post-processing effects will be disabled and the mouse will be used for touch input. You can also use the mouse to enter. The choice of this target platform is expedient in case of creating an application on Android. For our example, choose the second option - Desktop/Console.
Graphical Target. For application development, it is better to choose Scalable 3D or 2D. Note that in this case, as well as in the first paragraph, certain post-processing effects are disabled. When creating a game for a computer or console, click Maximum Quality.
Starter Content. This parameter is needed to add basic content. To simplify your work, it is better to select No Starter Content.
Don't forget to give the project a name and path to it. When all of the above operations are done, click on the Create Project button. A new project will be created based on the parameters you specified.
Setting up a new project
Before we start building and running the project, let's figure out what the Unreal Engine 4 editor consists of, which will open after clicking the Create Project button. Now we have six main panels:
Content Browser. On this panel we see all the files of our project. With its help, we organize files and create folders. You can find the required project component using filters or the search bar.
Modes. Thanks to this panel, we switch from tool to tool, for example from the Foliage Tool to the Landscape Tool. When we enter the editor, the Place Tool is there by default. With it, you can place various objects on the selected level (cameras, lights, etc.).
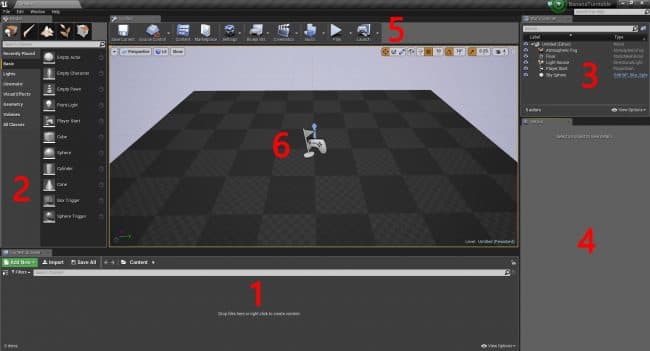
World Outliner. This panel displays all the objects on the level we are currently working with. The object can also be sorted by folders, thus organizing them. The desired type of object can be found through filters and search.
Details. Here we see all the properties of the object we are working with. Thanks to Details, we can change the parameters of the selected object (changes will only be made in this particular object). If we made two spheres for the scene, and we want to change the size of one of them, then only the selected sphere will be transformed.
Toolbar. Includes many different features. In our case, Play will be used most often.
Viewport. This panel provides an overview of the entire level. We can look around if we hold down the right mouse button and move it around. If you want to switch to another level, hold down the right button and use the WASD direction keys.
Now that we've figured out the structure of the editor, let's start setting up the project. First, let's set the necessary parameters in the Settings menu. By clicking on this section at the top of the editor, select Project Settings. For example, consider the parameters when creating an Android application. Having opened the settings, we need to go to the Platforms - Android SDK section. Here you need to set the paths for the installed components. Then you need to go to the Platforms - Android section, where all the basic data about the project is located. We need to accept the license agreement, specify the package and application names. After you have specified all the necessary parameters, you can close the settings section.
Building and running the project
In order for Unreal Engine to start building, go to the File section, go to the Package Project, and select your target platform. In the case of working with Android, we need to connect the device on which we will run the project. Then find the Launch item in the menu and click on the arrow next to it. Select the device you have connected.
After this preparation, the process of building the project and running it begins. The build time will generally depend on the power of your computer, the state of the hardware, and the level of complexity of the project.
Unreal Engine 4 Benefits
Among the main advantages of this software are juicy graphics, realistic physics and relatively high development speed. Compared to its closest counterpart, the UNITY engine, Unreal Engine is also more efficient at creating complex game scenes, which significantly saves developer resources.
Also, the engine we are considering is much easier to use: beginners understand it without problems. A user-friendly interface also contributes to this. Unreal Engine 4 is also convenient from a financial point of view: the engine is shareware. The developer will have to give away 5 percent of their income from the game only when the latter exceeds $3,000 in three months.
If a game is created for a mobile device, an important criterion when choosing an engine will be the "weight" of the finished product. An application launched through Unreal Engine 4 will take up significantly less space compared to the same UNITY.
The latest version of Unreal works equally well on all platforms. This engine is especially recommended for use when working with realistic next-gen graphics.
You can read more about the benefits of Unreal Engine 4 in the article at this link: https://crocoapps.com/blog/kod/preimushestva-dvizhka -unity/.
Where can I learn how to work with Unreal Engine 4
Due to the popularity of this engine, today there are quite a few tutorials on working with Unreal Engine 4.
- Game Developer online courses will help you improve your skills. Here, beginners are supported by specialists, and the stages of creating a game are considered to the smallest detail ( https://games.education/).
- A good knowledge base and practical experience can be obtained at the Skillbox online university. Here, the main market experts teach not only game development, but also other popular areas of the web industry. (https://skillbox.ru/)
- For those who have already tried their hand at working with engines and want to expand their knowledge base, the online course at the Games Academy is perfect. (https://gamesacademy.com.ua/our-courses/ unreal-engine/)
- A lot of useful tips for beginners from experienced developers can be found on the Harb website ( https://habr.com/en/post/488028/).
How much can a developer earn
While making money selling games is not easy, it can also provide you with a good profit. Working in Unreal Engine, you can place your brainchildren on the Marketplace for free. As we said, the administration takes 5 percent of your earnings if it exceeds $3,000 in a quarter. In this case, the author is obliged to report every three months on the amount of profit received. To reduce the amount of deductions, we recommend that you pay in advance for the provision of a user license.
As practice shows, in working with Unreal Engine 4, a beginner's earnings start from 50,000 rubles, and an experienced developer can receive up to 250,000 rubles.
In order for users to pay attention to your game among a huge number of games, we advise you to write a catchy description and make attractive screenshots. It is not worth reducing the price of your creation in the hope that it will be bought faster.
Stages of creating a game
The creation of any game begins with a technical task, which should include all the main stages and sub-paragraphs of this process. One of the most important points in development is the visual component of the project. To do this, the game must have a well-thought-out unique design and well-designed models. It is also necessary to write the game logic code that runs on the engine, as well as the code for the network part if the game is network. Quality sound content is also important. Testing should be the last step in creating a game before it's released.
Do not forget: since all genre niches in the gaming field have long been "crammed", you need to attract the user's attention first of all with a bright "wrapper". Therefore, a high-quality presentation on the market can be a decisive factor in promoting your product.
Unreal engine 4 is the best choice of 2020
Given the large number of advantages, developing games on unreal engine 4 is the best choice for a developer in 2020. With a user-friendly interface and accessible functionality, this engine has gained popularity among both experienced professionals and beginners in the gaming field. Unreal engine 4 can be a great start to a successful career and bring a good profit to the developer.