
Table of contents

Developing 2D lighting for night scenes
9 April 2018
Reading time: 4 minutes
Good afternoon everyone. Today we will talk about how to make lighting in a 2D game using the Unity3D engine. In fact, the topic is not new, one might even say that it is outdated. But we decided to bring our own solution to this topic.
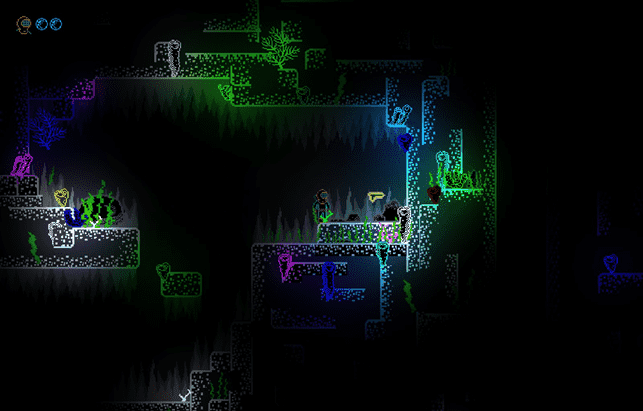
This solution had a real use in our DeepOnes game
Terms of Reference:
Implement underwater lighting for corals, the main player and other elements of the level. Implement so that only highlighted objects are visible on the game scene, and everything that does not fall on the light should be hidden in darkness.
When we were faced with the task of making 2D lighting for DeepOnes, we turned to existing solutions. And after a while we had several approaches in our arsenal.
Let's take a closer look at them.
Solution using SpotLight and dimming the sprite material.
The solution is not the best for us, as part of the game required "darkness", and part of the game required normal "daylight" lighting. In this case, we may face the problem of replacing the material and shaders for each time of day. Of course, no one canceled the checks in the Start () method - what is the scene now and what material should be used. But why extra checks, roughly speaking, on every sprite.
If a solution is not suitable for our tasks, it does not mean that it is not suitable for yours. Therefore, we will describe how to implement it.
- Creating a new material.
- Give it a Sprites>Diffuse shader.
- Add the sprite you want to the scene.
- In the Sprite Renderer component, set our newly created material to Material.
- Create a SpotLight (PointLight is also fashionable, but light textures are crookedly placed on it (light cookie).
- Let's align the light with respect to our sprite.
- In the Transform>Position component of the light, set the Z value to -10 (well, or more).
- Set the color, intensity, light length (if necessary).
The result that can be achieved:
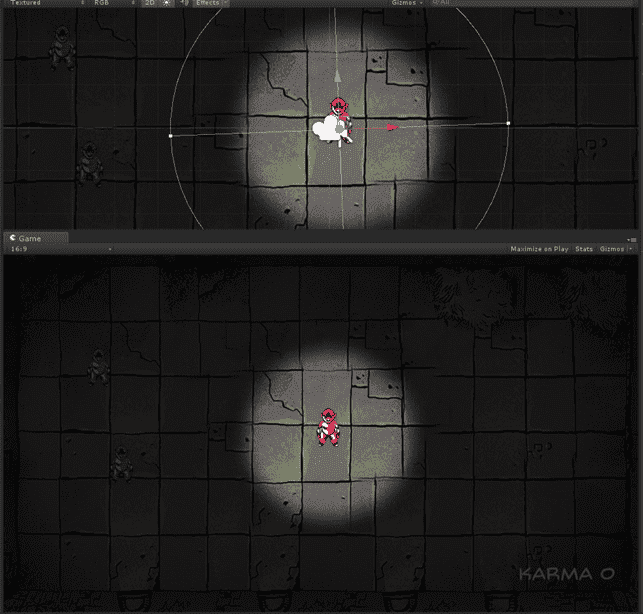
This result did not suit us, so we move on to the next method.
Using the 2D Volumetric Lights plugin
https://github.com /aszecsei/2D-Volumetric-Lighting
http://u3d.at.ua/load/ehffekty/2d_volumetric_lights/21-1-0-505
After some searching, we came across this plugin. As we can see, this is already a new level in the implementation of 2D lighting.
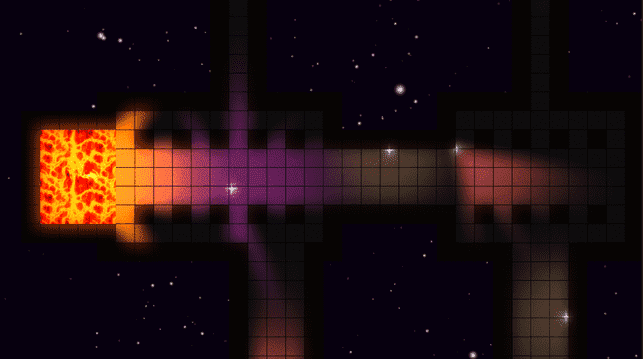
Of course it looks very nice. The plugin is not difficult to use. But while working, we encountered the fact that too much lighting on the stage makes fps drop, and this is unacceptable in a 2d platformer. So let's leave this plugin on the shelf of pretty assets.
And finally, the highlight of the program - your own solution
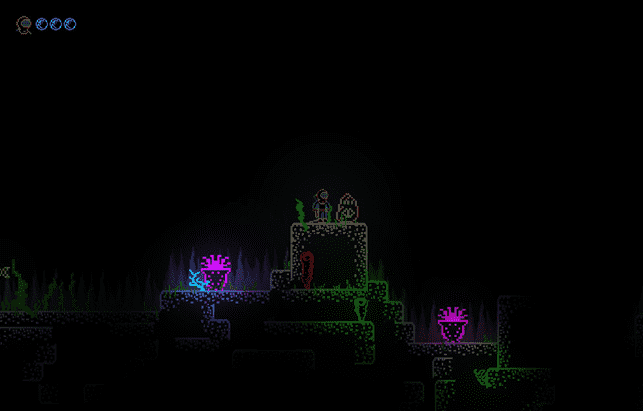
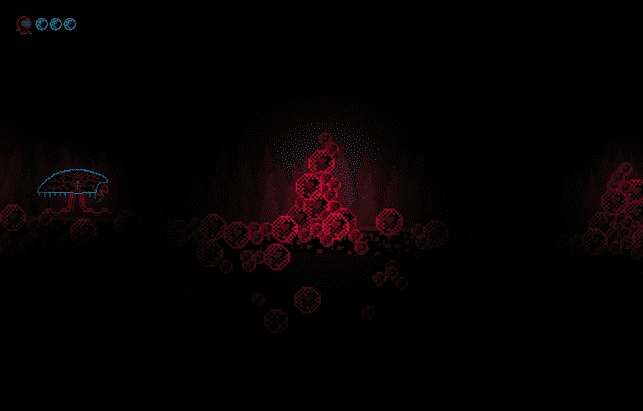
And so, what did we use to implement such a light.
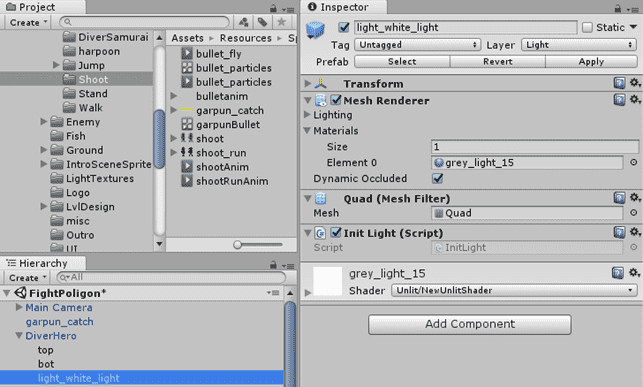
- Create a Light layer. We mark all the objects on which there should be a light source. For example, on a character it will look like this.
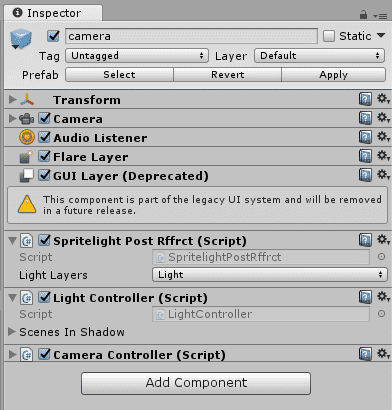
- 2 scripts. Which should hang on the 2D camera.
SpritelightPostRffrct and LightController
The SpritelightPostRffrct script is responsible for lighting directly. The LightCcontroller script is responsible for turning the light on/off at certain levels.
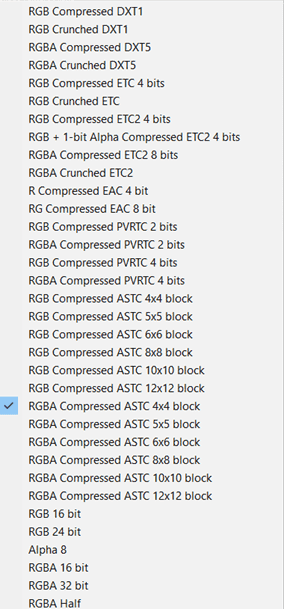
- Requires a texture, translucent, with a gradient fill in the center. We take it from standard assets.
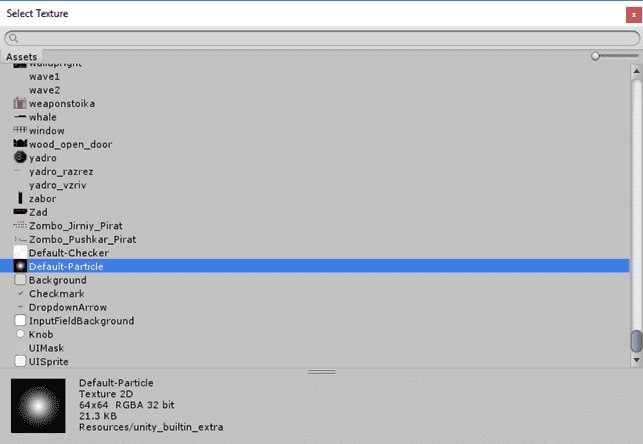
- Create a material based on this texture. To change the color of the light source, change the color of the material.
Important! The color must have opacity 1.
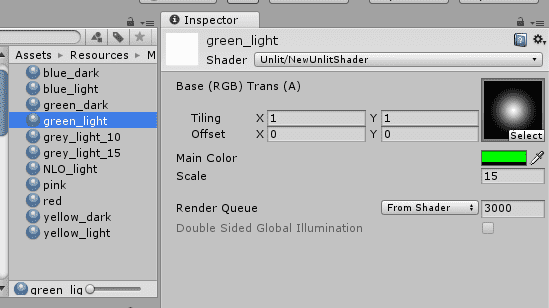
- Assign a shader to the material.
- The InitLight script disables the MeshRenderer component on the light object.
- Putting everything together on the lighting object and checking the work.
- Don't forget to leave a FeedBack about using the plugin.